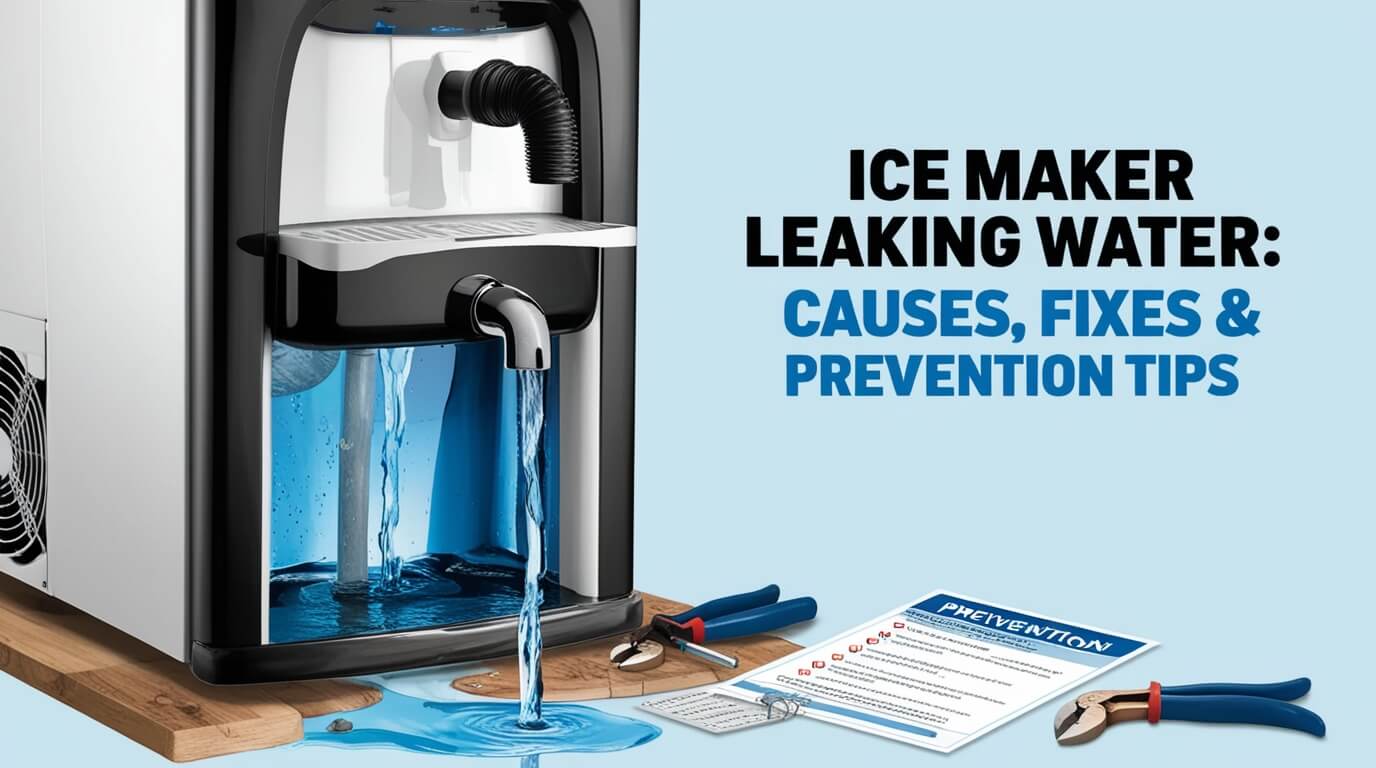
Puddles in your kitchen? Your ice maker might be the culprit. Leaky ice makers can cause water damage, mold, and expensive fixes. We’ll help you find why your ice maker is leaking, how to fix it, and ways to stop future leaks. Say goodbye to wet floors and hello to cool drinks!
Ice Maker Basics
Before we dive into troubleshooting, let’s get familiar with how ice makers work.
How an Ice Maker Works
Ice makers are marvels of modern convenience. They use a simple process:
- Water flows into the ice mold.
- The mold freezes the water.
- A heating element loosens the ice.
- An ejector arm pushes out the cubes.
- The process repeats.
When this cycle goes smoothly, you get a steady supply of ice. But hiccups in this process can lead to leaks.
Common Ice Maker Types
There are several types of ice makers:
- Built-in refrigerator ice makers
- Standalone countertop units
- Under-counter ice machines
Each type can develop leaks, but built-in models are most prone to issues due to their connection to your home’s plumbing.
Signs of a Leaking Ice Maker
Catching a leak early can save you from major headaches. Here’s what to look out for:
Water Pooling in the Freezer
If you notice water or ice buildup at the bottom of your freezer, your ice maker might be the culprit. This often happens when the defrost drain is clogged.
Water on the Kitchen Floor
Finding mysterious puddles near your fridge? Your ice maker could be leaking. Check for water trails leading from the back of the refrigerator.
Reduced Ice Production
When your ice maker starts slacking off, it might be due to a leak. Water that should be turning into ice could be escaping elsewhere.
Common Causes of Ice Maker Leaks
Let’s explore the usual suspects behind ice maker leaks:
Clogged Defrost Drain
The defrost drain prevents ice buildup in your freezer. When it clogs, water backs up and can leak from your ice maker.
Faulty Water Inlet Valve
This valve controls water flow into your ice maker. If it’s stuck open, even slightly, it can cause continuous leaking.
Misaligned or Damaged Fill Cup
The fill cup directs water into the ice mold. If it’s out of whack, water might spill out instead of filling the mold.
Cracked Water Line
The water line connecting your ice maker to the water supply can crack or come loose, leading to leaks.
Ice Maker Not Level
An unlevel ice maker can cause water to overflow during the filling process.
Troubleshooting Your Leaking Ice Maker
Ready to play detective? Let’s walk through the troubleshooting process.
Initial Safety Precautions
Before you start poking around:
- Unplug your refrigerator to avoid electrical shocks.
- Turn off the water supply to your ice maker.
- Remove any standing water with towels.
Safety first, always!
Step-by-Step Inspection Process
- Check the water supply line for cracks or loose connections.
- Inspect the fill cup alignment.
- Look for ice buildup in the defrost drain.
- Examine the water inlet valve for signs of wear.
- Use a level to check if your refrigerator is sitting evenly.
When to Call a Professional
If you’re not comfortable with DIY repairs or if the problem persists after trying simple fixes, it’s time to call in the pros. Especially if you suspect electrical issues or major component failures.
DIY Fixes for Common Ice Maker Leaks
Roll up your sleeves! Here are some fixes you can try:
Clearing a Clogged Defrost Drain
- Locate the drain hole at the back of the freezer.
- Use warm water and a turkey baster to flush out the drain.
- For stubborn clogs, try a mixture of baking soda and vinegar.
Aligning the Fill Cup
- Remove the ice maker cover.
- Gently adjust the fill cup position.
- Run a test cycle to ensure proper alignment.
Tightening Water Line Connections
- Check all connection points.
- Hand-tighten any loose fittings.
- Use pliers for a quarter turn more, but don’t overdo it!
Leveling Your Refrigerator
- Use a carpenter’s level on top of the fridge.
- Adjust the leveling feet at the base of the unit.
- Ensure a slight tilt towards the back for proper door closure.
Preventing Future Ice Maker Leaks
An ounce of prevention is worth a pound of cure, especially when it comes to ice makers.
Regular Maintenance Tips
- Clean your ice maker every 3-6 months.
- Replace the water filter as recommended by the manufacturer.
- Inspect water lines and connections annually.
Proper Usage Guidelines
- Don’t overfill the ice bin.
- Avoid storing non-food items in the freezer.
- Keep the freezer door closed as much as possible.
Importance of Water Quality
Hard water can lead to mineral buildup and clogs. Consider using a water softener or filtered water for your ice maker.
When to Replace Your Ice Maker
Sometimes, repair isn’t the best option. Here’s how to know when it’s time for a new ice maker:
Signs of Irreparable Damage
- Rust or corrosion on internal components
- Repeated breakdowns despite repairs
- Strange odors or tastes in the ice
Cost Considerations: Repair vs. Replace
If repair costs approach 50% of the price of a new unit, replacement might be more economical in the long run.
Choosing a New Ice Maker
If you’re in the market for a new ice maker, here’s what to keep in mind:
Features to Look For
- Energy Star certification for efficiency
- Adjustable ice cube sizes
- Self-cleaning cycles
- Clear ice options for better-looking drinks
Energy Efficiency Considerations
Look for models with high energy ratings. They’ll save you money on utility bills and are better for the environment.
Conclusion
A leaking ice maker doesn’t have to put a damper on your day. By understanding the causes, performing regular maintenance, and knowing when to call for help, you can keep your ice maker running smoothly. Remember, a little attention goes a long way in preventing water damage and ensuring a steady supply of ice for your favorite beverages.
Stay vigilant, keep things clean, and enjoy your perfectly chilled drinks without worry. Cheers to a leak-free future!


