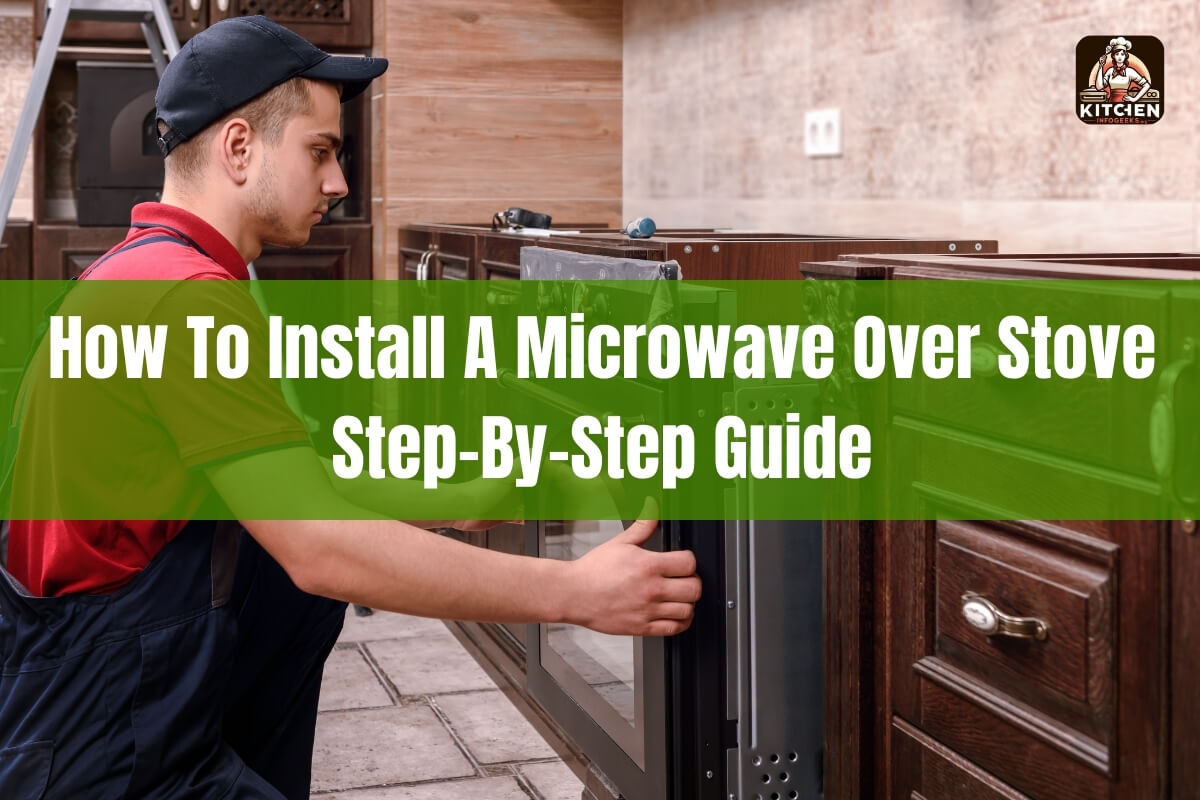
Are you looking to free up counter space and streamline your kitchen setup? Installing a microwave over your stove is an excellent solution. This comprehensive guide will walk you through the entire process, ensuring a smooth and successful installation.
Installing a microwave above your stove range can seem like a daunting task, but with the right guidance, it’s a straightforward DIY project. This article will cover everything you need to know, from preparation to final testing, including step-by-step instructions and helpful tips.
Prerequisites and Preparation
Before diving into the installation process, there are a few crucial prerequisites to consider.
Checking for an Existing Cabinet and Electrical Outlet
Most over-the-range microwaves are designed to fit snugly under a cabinet, with the power cord running through the cabinet’s bottom. Ensure you have an appropriate cabinet space above your stove range. Additionally, check for a nearby electrical outlet inside the cabinet, as these microwaves typically require a dedicated outlet for power.
Ensuring Proper Ventilation and Clearance
Over-the-range microwaves serve a dual purpose: cooking and ventilation. They are equipped with exhaust fans that help remove smoke, steam, and odors from your kitchen. Before installation, confirm that you have adequate ventilation provisions, such as an exterior wall vent or a ducting system that vents outside.
Furthermore, clearance is crucial for safe and comfortable operation. Generally, you’ll need a minimum clearance of 66 inches from the floor to the top of the microwave and 12-13 inches between the bottom of the microwave and the cooktop surface.
Gathering Necessary Tools and Materials
To ensure a smooth installation process, gather the following tools and materials:
- Over-the-range microwave unit
- Mounting bracket and hardware (typically included with the microwave)
- Drill and drill bits
- Stud finder
- Screwdrivers
- Wrench or socket set
- Tape measure
- Level
- Vent ducting and fittings (if required)
- Electrical cable and junction box (if a new outlet is needed)
Having these items readily available will save you time and hassle during the installation.
Step-by-Step Installation Process
With the prerequisites checked, it’s time to dive into the installation process. Follow these steps carefully for a successful outcome.
Step 1: Turning off Power and Moving the Stove
Safety first! Before starting any electrical work, turn off the circuit breaker supplying power to your stove range and the area where the microwave will be installed. This crucial step prevents potential electrical shocks or damages.
Next, carefully move your stove range away from the wall, creating enough space to work comfortably behind it. If the stove is too heavy or difficult to move, consider seeking assistance.
Step 2: Finding and Marking Stud Locations
Use a stud finder to locate the wall studs behind the area where the microwave will be mounted. Studs are the vertical wooden beams that provide structural support for your walls, and they are essential for securely mounting the microwave.
Once you’ve located the studs, mark their positions with a pencil on the wall. These markings will guide you during the installation of the mounting bracket.
Step 3: Installing the Mounting Bracket
Most over-the-range microwaves come with a mounting bracket and a template to assist with proper positioning. Carefully follow the manufacturer’s instructions for attaching the bracket to the wall.
In general, you’ll need to align the bracket with the stud locations you’ve marked and secure it using the provided hardware (often lag bolts or screws). Ensure the bracket is level and flush against the wall for optimal support.
Step 4: Positioning the Microwave and Feeding the Power Cord
With the mounting bracket securely in place, it’s time to position the microwave. This step is often easier with an extra set of hands to support the microwave’s weight.
Lift the microwave and carefully hook it onto the mounting bracket, following the manufacturer’s instructions. Feed the power cord through the designated hole in the cabinet above, ensuring it doesn’t get pinched or damaged.
Step 5: Securing the Microwave to the Cabinet
Once the microwave is properly positioned, it’s time to secure it to the cabinet above. Most models come with mounting bolts or screws that need to be threaded through the cabinet’s bottom and into the microwave’s frame.
Follow the manufacturer’s guidelines for tightening the bolts or screws, ensuring the microwave is level and securely fastened to the cabinet.
Step 6: Connecting the Vent Duct (if applicable)
If your microwave requires exterior venting, this is the step where you’ll connect the vent duct to the microwave’s exhaust port. Depending on your home’s configuration, you may need to install new ductwork or connect to an existing vent system.
Consult the manufacturer’s instructions and local building codes for proper venting requirements. Seal all duct connections with metal tape to prevent air leaks.
Step 7: Testing the Microwave
After completing the installation, it’s time to test your new over-the-range microwave. Turn the circuit breaker back on and plug the microwave into the electrical outlet.
Follow the manufacturer’s instructions for initial setup and testing procedures. This may include running a quick cook cycle or checking the exhaust fan’s operation.
If everything is working correctly, congratulations! You’ve successfully installed your new microwave over the stove range.
Hiring a Professional vs. DIY Installation
While the installation process is relatively straightforward, it’s essential to assess your skill level and comfort with the task. If you’re unsure about any aspect of the installation, it’s always better to err on the side of caution and hire a professional.
Hiring a Professional
Enlisting the services of a professional installer can provide peace of mind and ensure the job is done correctly and safely. Professionals have the experience and expertise to handle any unexpected challenges that may arise during the installation process.
Additionally, they can handle any necessary electrical or ventilation work, ensuring compliance with local building codes and regulations.
DIY Installation
For those with basic DIY skills and a willingness to follow instructions carefully, installing an over-the-range microwave can be a satisfying and cost-effective project.
However, it’s crucial to understand the limitations of your knowledge and skills. If you encounter any issues beyond your capabilities, don’t hesitate to seek professional assistance to avoid potential safety hazards or costly mistakes.
Over-the-Range Microwave Installation FAQs
To help address common concerns and queries, here are some frequently asked questions about installing a microwave over the stove:
Can you install an over-the-range microwave yourself?
Yes, with the right tools, instructions, and a bit of DIY experience, installing an over-the-range microwave can be a manageable DIY project for many homeowners. However, if you’re unsure about any aspect of the installation or lack the necessary skills, it’s advisable to hire a professional to ensure a safe and proper installation.
Do you need a vent with an above-stove microwave?
Over-the-range microwaves are designed to serve as both a microwave oven and a range hood, providing ventilation for your cooktop. While it’s not strictly required to vent the microwave to the outside, it’s highly recommended, especially if you have a gas stove. Proper ventilation helps remove smoke, odors, and excess heat from your kitchen.
Should an above-the-range microwave be flush with the cabinets?
It’s common and expected for over-the-range microwaves to protrude slightly from the cabinet face. This design allows for proper clearance and ensures the microwave door can open fully without obstruction. However, the amount of protrusion can vary depending on the cabinet depth and the specific microwave model.
How much clearance do you need for an over-the-range microwave?
Most manufacturers recommend a minimum clearance of 66 inches from the floor to the top of the microwave. Additionally, there should be at least 12-13 inches of clearance between the bottom of the microwave and the cooktop surface. This clearance ensures safe and comfortable operation of both appliances.
What is a low-profile over-the-range microwave?
A low-profile over-the-range microwave is a compact model designed to fit in tight spaces above stove ranges. These microwaves typically measure around 10-11 inches in height, allowing for installation in spaces where a standard-sized model might not fit. Despite their smaller size, low-profile models offer the same cooking capabilities as their full-size counterparts.
Tips and Tricks for a Successful Installation
To ensure a smooth and successful installation, here are some additional tips and tricks to keep in mind:
Ensure Proper Measurements and Clearance
Before purchasing an over-the-range microwave, carefully measure the available space above your stove to ensure a proper fit. Double-check the recommended clearances from the manufacturer, as well as any potential obstructions that could hinder the microwave’s operation or door swing.
Handle the Microwave Safely During Installation
Over-the-range microwaves can be heavy and bulky, so it’s essential to handle them with care during installation. Enlist an extra set of hands to help lift and position the microwave, especially when mounting it onto the bracket. Proper lifting techniques and protective equipment, such as gloves, can prevent injuries.
Troubleshooting Common Issues
Even with careful planning and execution, you may encounter some challenges during the installation process. Common issues include:
- Power supply problems: Ensure the electrical outlet is functioning correctly and that the microwave is properly plugged in.
- Ventilation issues: Check for any obstructions in the vent duct or improper duct connections that could hinder airflow.
- Mounting problems: If the microwave seems unstable or wobbly, double-check the mounting bracket and cabinet connections for proper tightness and alignment.
If you encounter any persistent issues, consult the manufacturer’s troubleshooting guide or seek professional assistance.
Consider Additional Features and Accessories
While the primary focus is on the microwave installation, this is also an opportunity to explore additional features and accessories that can enhance your kitchen’s functionality and convenience. For example, some over-the-range microwaves offer built-in lighting, adjustable vent fans, or smart connectivity options.
Maintain a Clean and Organized Work Area
A cluttered work area can lead to misplaced tools, lost hardware, and potential safety hazards. Before starting the installation, clear the surrounding area and organize your tools and materials for easy access. Lay down a protective surface or drop cloth to catch any debris or scratches during the process.
Read the Manufacturer’s Instructions Thoroughly
While this guide provides a general overview of the installation process, it’s crucial to read and follow the specific instructions provided by the manufacturer for your particular microwave model. These instructions may include important details, safety precautions, or unique installation requirements specific to your unit.
By following these tips and tricks, you can increase the chances of a successful installation and ensure that your new over-the-range microwave operates safely and efficiently for years to come.
Conclusion
Installing a microwave over your stove range is an excellent way to optimize kitchen space and streamline your cooking experience. By following this comprehensive guide, you’ll be equipped with the knowledge and steps necessary to tackle this project with confidence.
Remember, proper preparation, adherence to safety guidelines, and careful execution are key to a successful installation. Don’t hesitate to seek professional assistance if you encounter any challenges beyond your skill level or comfort zone.
With your new over-the-range microwave installed, you can enjoy the convenience of having a versatile cooking appliance within easy reach, while also benefiting from improved ventilation and a sleek, modern kitchen aesthetic.


