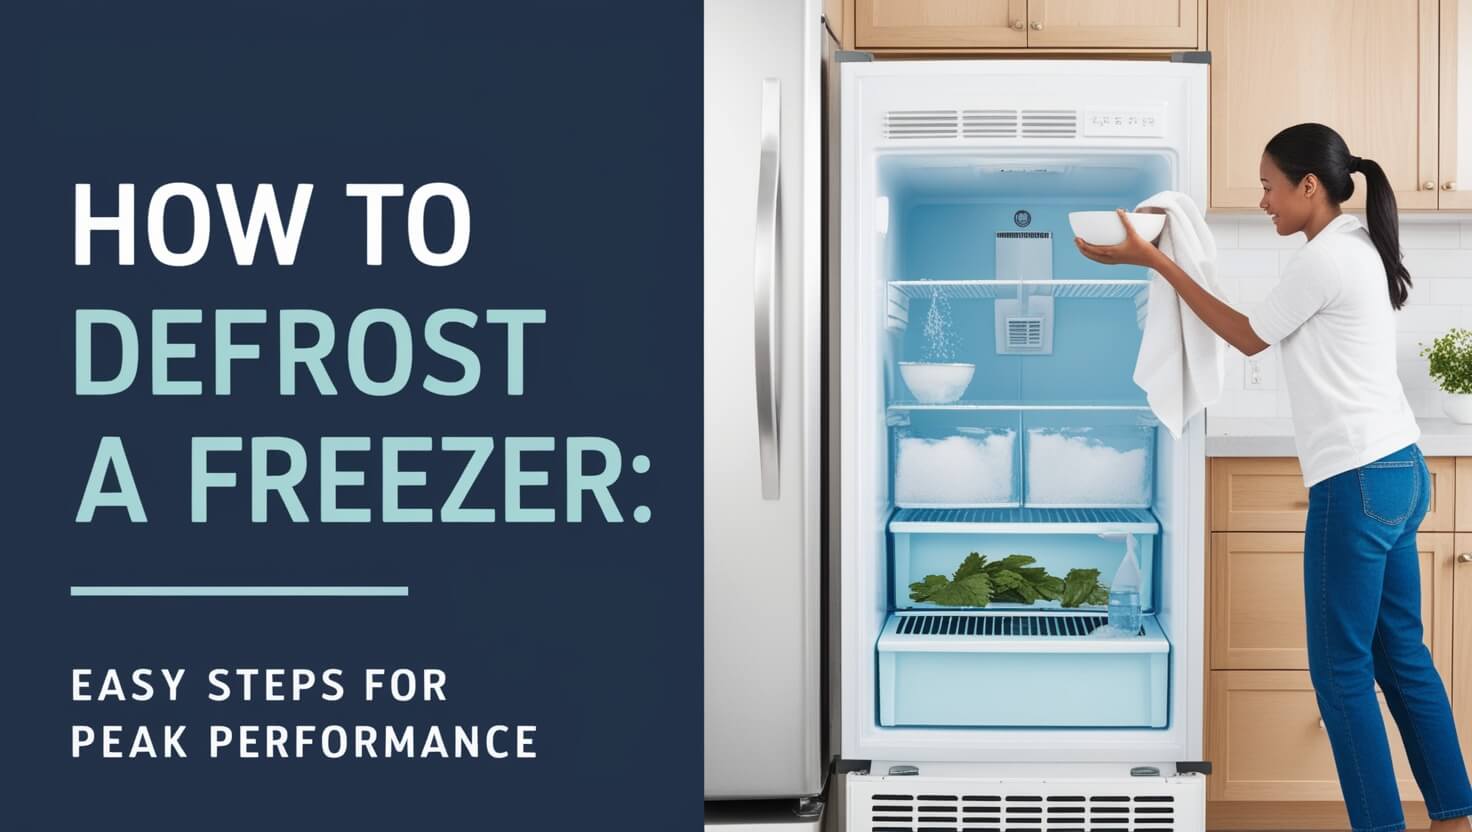
Is your freezer turning into an ice cave? Don’t worry – defrosting is easier than you think. It’s all about melting away that frosty buildup on the inside of your freezer. This keeps your appliance working well and saves you money on energy bills.
Freezers are great for keeping food fresh, but they can get icy over time. This ice takes up space and makes your freezer work harder than it needs to. Regular defrosting fixes these issues.
Ready to learn the ins and outs of defrosting? We’ll cover everything from why it matters to how to do it right. Let’s get started!
Why Defrosting Your Freezer Matters
You might wonder why defrosting is such a big deal. After all, isn’t a freezer supposed to be cold and icy? While that’s true to some extent, excessive ice buildup can cause several problems.
Energy Efficiency Benefits
A frost-free freezer is an efficient freezer. When ice coats the interior walls, your appliance has to work harder to maintain the correct temperature. This extra effort translates to higher energy consumption and, consequently, increased electricity bills. By regularly defrosting, you’re not just maintaining your freezer – you’re also being kind to your wallet and the environment.
Improved Freezer Performance
Ice buildup can interfere with your freezer’s cooling system. It can block vents, prevent proper air circulation, and even damage internal components. By keeping ice at bay, you ensure that your freezer can do its job effectively, maintaining a consistent temperature throughout the unit.
Better Food Quality and Storage
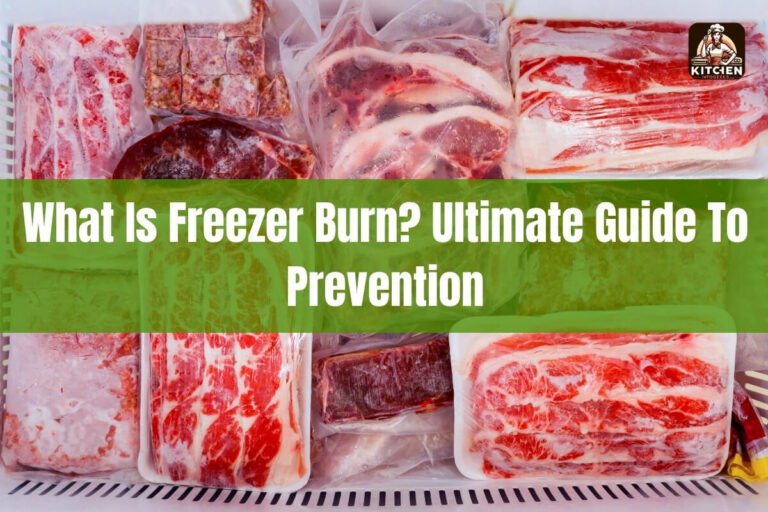
Excessive frost can lead to freezer burn, affecting the taste and texture of your stored food. It also takes up valuable space, reducing the amount of food you can store. Regular defrosting helps maintain food quality and maximizes your freezer’s storage capacity.
Signs It’s Time to Defrost Your Freezer
Knowing when to defrost is half the battle. Here are some telltale signs that it’s time to tackle the ice:
Ice Buildup Thickness
As a general rule, when the ice layer reaches 1/4 inch thickness, it’s time to defrost. This thickness of ice can start to impact your freezer’s efficiency and take up noticeable space.
Difficulty Closing the Door
If you’re struggling to close your freezer door properly, ice buildup might be the culprit. This not only wastes energy but can also lead to food spoilage if the door isn’t sealing correctly.
Reduced Cooling Efficiency
Notice your freezer isn’t keeping food as cold as it should? Ice buildup could be interfering with the cooling process, signaling it’s time for a defrost.
Preparing for the Defrosting Process
Before you start chipping away at that ice, there are a few preparatory steps to take:
Gathering Necessary Supplies
You’ll need:
- Towels or newspapers
- A plastic scraper
- A bowl of hot water
- Cleaning solution
- A sponge or cloth
Having these items ready will make the process smoother and more efficient.
Safely Storing Frozen Food
Don’t let your food thaw while you’re defrosting! Transfer items to a cooler with ice packs or another freezer if available. This step is crucial for food safety and quality.
Turning Off and Unplugging the Freezer
Safety first! Always unplug your freezer before starting the defrost process. This protects you from potential electrical hazards and allows the unit to warm up more quickly.
Step-by-Step Guide to Defrosting Your Freezer
Now that you’re prepared, let’s walk through the defrosting process:
Natural Defrosting Method
The simplest method is to let nature do the work:
- Remove all food and unplug the freezer.
- Open the door and place towels around the base to catch water.
- Wait for the ice to melt naturally. This can take several hours.
While this method is easy, it’s also the slowest.
Accelerated Defrosting Techniques
Want to speed things up? Try these methods:
- Use a fan to circulate warm air into the freezer.
- Place bowls of hot water inside and close the door. Replace every 15 minutes.
- Use a hairdryer on a low setting, being careful to avoid water contact.
Remember, never use sharp objects to chip away ice – you could damage your freezer!
Removing Ice and Water Safely
As the ice melts:
- Use a plastic scraper to gently remove loosened ice.
- Mop up water with towels or a sponge.
- Empty and replace any drip trays if your model has them.
Cleaning Your Freezer After Defrosting
Once the ice is gone, it’s the perfect time for a deep clean:
Proper Cleaning Solutions
Mix a solution of warm water and mild dish soap or baking soda. Avoid harsh chemicals that could contaminate food storage areas.
Thorough Drying Techniques
After cleaning:
- Wipe down all surfaces with a clean, dry cloth.
- Leave the door open for an hour to air dry completely.
Sanitizing for Food Safety
For extra peace of mind, use a diluted bleach solution (1 tablespoon per gallon of water) to sanitize surfaces. Rinse thoroughly and dry again.
Refilling and Restarting Your Freezer
You’re almost done! Here’s how to get your freezer back up and running:
Optimal Temperature Settings
Set your freezer to 0°F (-18°C) for optimal food preservation. Use a freezer thermometer to ensure accuracy.
Organizing for Efficiency
As you reload:
- Group similar items together.
- Leave space between items for air circulation.
- Keep frequently used items near the front.
Monitoring Initial Performance
Watch your freezer closely for the first 24 hours to ensure it’s cooling properly and maintaining the correct temperature.
Preventing Rapid Ice Buildup
Want to defrost less often? Try these preventive measures:
Proper Door Seal Maintenance
Check your door gasket regularly for cracks or tears. A poor seal lets in warm, moist air – the perfect recipe for frost.
Managing Freezer Contents
Don’t overfill your freezer. Proper air circulation helps prevent frost buildup. Also, let hot foods cool before freezing to reduce moisture introduction.
Controlling Humidity Levels
Use airtight containers or freezer bags to store food. This reduces moisture in the freezer air, slowing ice formation.
Frost-Free vs. Manual Defrost Freezers
Not all freezers are created equal when it comes to frost:
Understanding the Differences
Frost-free freezers have a built-in heating element that periodically melts frost. Manual defrost models require you to remove frost yourself.
Pros and Cons of Each Type
Frost-free models are convenient but use more energy. Manual defrost freezers are more energy-efficient but require regular maintenance.
Maintenance Requirements
Frost-free freezers still need occasional cleaning, while manual defrost models should be defrosted at least once a year.
Troubleshooting Common Defrosting Issues
Even with the best preparation, you might encounter some challenges:
Dealing with Stubborn Ice
For tough ice patches, try using a plastic scraper or a cloth soaked in hot water. Never use metal tools or electrical appliances near melting ice.
Addressing Drainage Problems
If water isn’t draining properly, check for and clear any blockages in the drain hole. You might need a pipe cleaner or warm water to clear the passage.
When to Seek Professional Help
If you’re consistently dealing with rapid ice buildup or your freezer isn’t maintaining temperature after defrosting, it might be time to call a professional.
Frequency of Defrosting: Finding the Right Balance
How often should you defrost? It depends on several factors:
Factors Affecting Defrosting Frequency
Consider:
- Freezer type (manual or frost-free)
- Usage patterns
- Ambient humidity levels
- Door seal condition
Creating a Defrosting Schedule
For manual defrost freezers, aim to defrost at least once a year or when ice buildup reaches 1/4 inch. Mark it on your calendar to stay on track.
Seasonal Considerations
You might need to defrost more often in summer when humidity is higher and the freezer door is opened more frequently.
Defrosting your freezer doesn’t have to be a chore. With these tips and techniques, you can keep your freezer running efficiently, save on energy costs, and ensure your food stays fresher for longer. Remember, a well-maintained freezer is key to a well-functioning kitchen. Happy defrosting!


